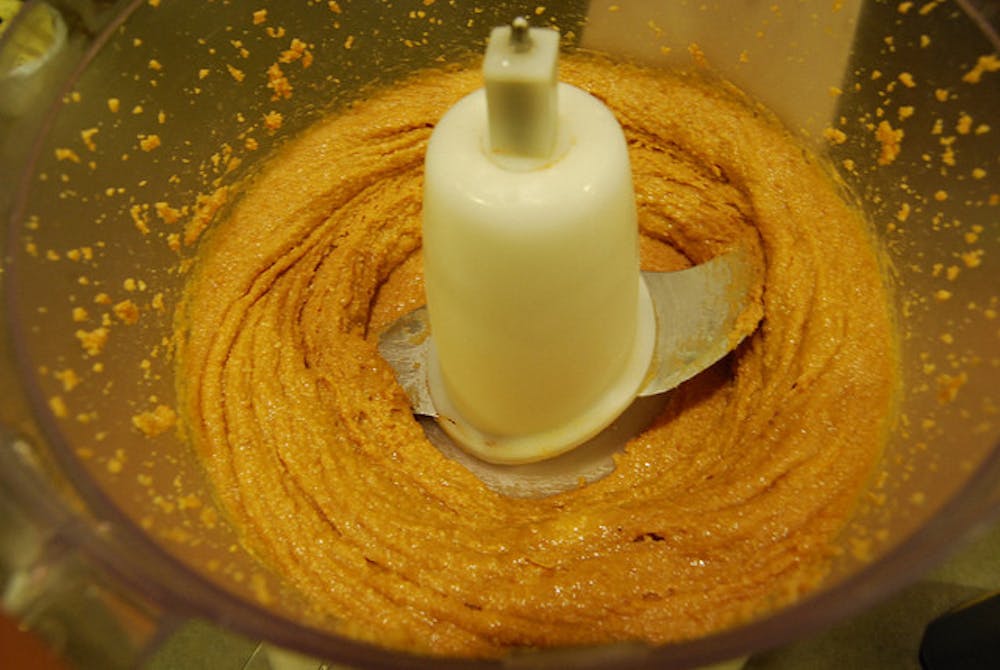
It’s been with us since the day we learned to tie our shoes. It traveled with us to and from the bus stop in our Barbie and Superman lunch boxes. It smothered our sandwiches, made great ants-on-a-log snacks and smiles at us from an arm’s reach away on our pantry shelves.
With the exception of those plagued by a nut allergy, many college students would consider peanut butter a food group in itself. It’s quick, cheap and easy to store. But, I’m here to help you take peanut butter to a whole new level: Why stick to the standard Jif or Skippy when you can create your own homemade nut butter blend?
Check out these four recipes that are guaranteed to diversify your pantry ☺
1. The Standard “Go-To:” Honey Peanut Butter
• 1 cup salted peanuts
• 1 – 2 teaspoons vanilla
• 1 – 2 teaspoons honey
• *Optional: add in 1 – 2 tablespoons of almond milk for a smoother consistency
2. The Kick Starter: Cocoa Espresso Butter
• 1 cup of Emerald Cocoa Roast almonds
• ¼ cup of Cocoa beans (or 1-2 Tablespoons of instant espresso)
• *Optional: add 1 – 2 teaspoons of honey for sweetener
3. The Cookie Crumble: Cinnamon Raisin Almond Butter
• 1 cup of Emerald Cinnamon Roast almonds (or 1 cup of almonds + 2 teaspoons of cinnamon)
• ¼ cup raisins (*to keep almonds whole, blend AFTER almond butter is already ground)
4. Fall Special: Pumpkin Walnut Butter
• 1 cup walnuts
• ¼ cup of canned pumpkin
• ½ – 1 teaspoon pumpkin pie spice
• ½ – 1 teaspoon cinnamon
• *Optional: add in 1-2 tablespoons of lite maple syrup for extra sweetness
Instructions:
• It’s best to use a food processor rather than a blender. Blenders are used more for liquids and soft foods whereas food processors are built for non-liquid foods.
• Process your nut base anywhere from 5-10 minutes, scraping down the sides every minute or so until the butter begins to form (be patient, it takes a little time!)
• Add in sweeteners, spices and remaining ingredients and blend together – this will get you a creamier consistency
• If you prefer chunky, process all ingredients together, scraping down the sides every 2-3 minutes
• Add in peanut oil if you are having a hard time blending the ingredients. This will help you get more of a creamer consistency, especially if you are using a blender.
• Store your homemade peanut butter in the fridge so it will last longer
**REMEMBER: adjust all spices, sweeteners and nut combinations to YOUR preference. This is just a guideline to get you started! Experiment with all different kinds of ingredients and create your own fabulous line of nut butter ☺
Peanut Butter Fun Fact: According to nationalpeanutboard.org, an organization created by America’s peanut farmers as a way to increase consumer demand for peanuts, Jan. 24 is National Peanut Butter Day! So, be sure to mark those calendars and plan a peanut butter party!


